
Disclosure: As an Amazon Associate I earn from qualifying purchases. How this site works
Hitch Pin Lock Sizes
Diameter matches the hole; span matches the receiver width plus accessories.
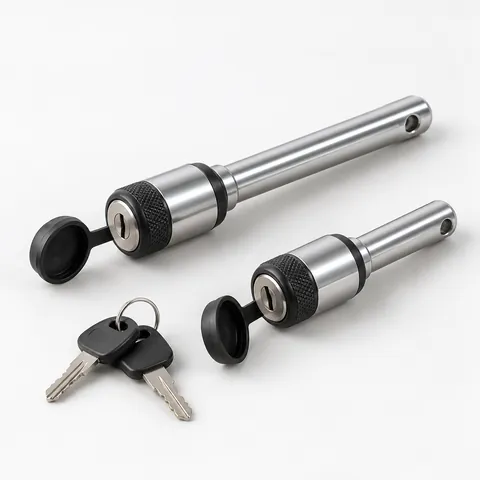 Receiver hitch pin locks
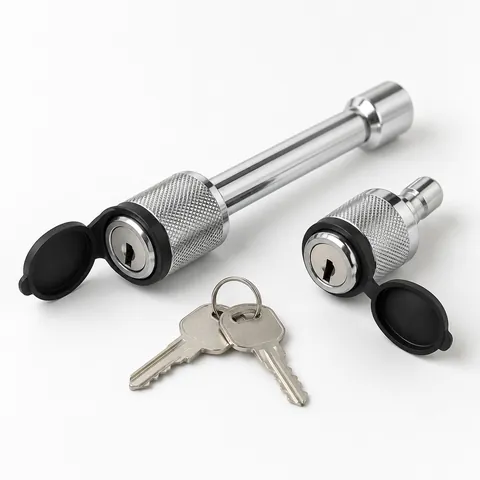 Keyed-alike hitch lock sets
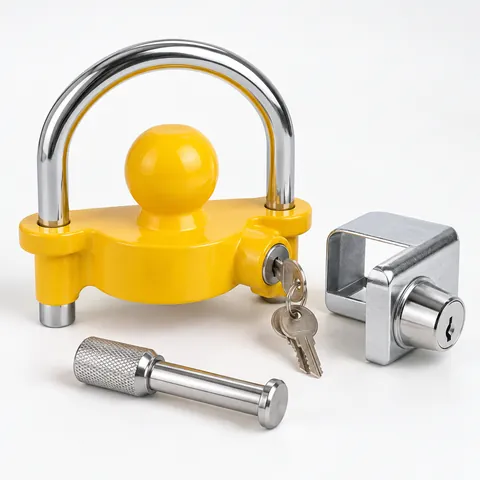 Coupler locks
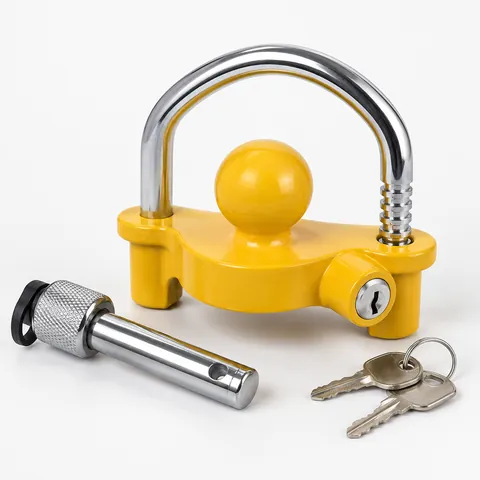 Universal trailer locks
Common sizes
| Receiver | Pin |
|---|---|
| 1¼ in | ½ in |
| 2 in | ⅝ in |
| 2½ in | ⅝ or ¾ in |
| 3 in | 1 in |
Measuring
- Measure the hole diameter in the receiver.
- Measure outside width across the receiver at the hole.
- Add space for anti-rattle devices.
- Choose a lock with at least that span.
Browse receiver pin locks.
How do I know what size hitch pin lock I need?
Start with the receiver on the vehicle, not the trailer or bike rack. The lock must fit the hole through the receiver tube and the hitch accessory shank at the same time. If either hole is smaller than the lock pin, the pin will not pass through. If the usable span is too short, the lock head will not close.
- Remove the ball mount, cargo carrier, bike rack, or other accessory from the receiver.
- Clean dirt, paint buildup, rust flakes, or burrs around the pin hole so the measurement is not thrown off.
- Measure the inside diameter of the pin hole with calipers if you have them. A ruler can work, but it is easier to misread small differences between ½ inch, ⅝ inch, and ¾ inch.
- Insert the accessory you plan to use and line up the holes. Confirm that the same size pin passes through both the receiver and the accessory shank.
- Measure the outside-to-outside width across the receiver at the hole, including anything the lock must pass around.
- Compare that measurement with the lock’s usable span or effective length, not the lock’s total end-to-end length.
If you are between sizes on diameter, do not size up. A pin that is too large will not fit, and forcing it can damage the hole or the lock. If the diameter fits but the lock rattles slightly, that is usually a normal clearance issue; use an anti-rattle device made for your receiver size rather than an oversized pin. For shopping, filter by diameter first, then span: receiver pin locks by diameter.
Usable span vs. overall length: what matters?
Many sizing mistakes happen because a lock is described by overall length, while the part that matters is the usable span. Usable span is the distance between the inside face of the lock head and the retaining end when the lock is closed. That is the space available for the receiver tube, hitch shank, washers, anti-rattle plates, and any other hardware the pin must pass through.
Overall length can include the lock head, key cylinder, rounded ends, or weather cap. Those parts do not help the pin fit through a wider receiver. When comparing products, look for terms such as usable length, working length, inside span, or effective span.
| Measurement term | What it means | How to use it |
|---|---|---|
| Pin diameter | Thickness of the metal pin | Must match the receiver and accessory pin holes |
| Usable span | Clear space between the locking ends | Must be at least as wide as the receiver and attached hardware |
| Overall length | Total length of the lock from end to end | Helpful for storage clearance, but not enough for fit |
| Shank size | Size of the square tube on the accessory | Helps identify likely pin size, but still measure |
A longer usable span is usually acceptable if it still locks securely and does not hit the bumper, safety-chain loops, wiring bracket, or spare tire. Too much extra length can leave the lock hanging farther out, where it may collect road grime or be easier to strike. Choose enough span for clean engagement, not the longest lock available by default.
What if my hitch accessory uses a different hole size?
The receiver size gives a good starting point, but accessories are not all drilled the same way. A 2-inch receiver commonly uses a ⅝-inch pin, but some light-duty accessories, adapters, and older parts may have different holes. The lock has to pass through both pieces, so the smaller hole controls the maximum pin diameter.
- If the receiver hole is larger than the accessory hole, use the pin size required by the accessory only if it is approved for that use by the accessory maker.
- If the accessory hole is larger than the receiver hole, use the receiver’s correct pin diameter. Do not drill the receiver hole larger unless the hitch manufacturer specifically allows it.
- If the holes do not line up, do not use the lock to pull the parts into position. Remove the accessory and check for the correct shank size, sleeve position, or obstruction.
- If the pin slides through the receiver but not the accessory, check for powder coat, burrs, or a slightly misaligned hole before assuming the size is wrong.
- If the accessory includes its own threaded anti-rattle pin, a standard straight locking pin may not replace it unless the accessory maker says it can.
Threaded anti-rattle systems are a common source of confusion. Some bike racks and cargo carriers use a special bolt that threads into the shank. That bolt may also include a locking end. A plain hitch pin lock of the same diameter may fit through the hole, but it may not remove wobble or may not engage the internal threads. In that case, use the accessory-specific locking method or a lock style designed for that threaded setup.
How reducer sleeves and anti-rattle devices affect span
A reducer sleeve, hitch adapter, clamp, or stabilizer can add thickness at the pin area. The diameter may stay the same, but the lock needs more usable span. This is why a lock that fits the bare receiver may be too short once all towing or carrying hardware is installed.
Before buying, assemble the setup exactly as you will use it. That means the reducer sleeve seated in the receiver, the ball mount or rack inserted to its normal depth, and any anti-rattle plate or washer in place. Then measure the total outside width that the lock has to bridge.
- For a 2½-inch receiver using a 2-inch reducer sleeve, confirm whether the pin passes through the outer receiver only or through both the receiver and sleeve.
- For clamp-style anti-rattle devices, check whether the clamp sits near the pin head and steals space from the lock body.
- For plate-and-U-bolt stabilizers, make sure the lock can still rotate and that the key can be inserted after installation.
- For drop hitches and adjustable ball mounts, check both the receiver pin and any separate adjustment pins. They may be different diameters or spans.
- For tight bumper clearances, make sure the lock head has room to close and the dust cap, if present, can open.
If you use several hitch accessories, a keyed-alike set can reduce the number of keys you carry, but it still has to match each pin diameter and span. Do not assume one set fits every receiver, coupler, and accessory on a trailer. Match each lock position separately, then decide whether a set makes sense: keyed-alike hitch lock sets.
Quick fit check before towing or carrying a load
After choosing the lock, do a fit check before the first trip. The goal is to confirm that the pin is fully seated, the lock is completely latched, and the key mechanism is not under side pressure. A lock that barely catches can look installed while not being secure.
- Slide the accessory into the receiver until the holes align naturally.
- Push the locking pin through by hand. It should pass through without hammering.
- Attach the locking end and pull on it to confirm it is latched.
- Look at both sides of the receiver to confirm the pin passes completely through the shank and receiver walls.
- Turn the accessory side to side and up and down. Some movement is normal, but the pin should not bind in the lock head.
- Check that the key can be removed and the dust cover, if included, can close.
- After a short drive, recheck that the lock is still seated and has not shifted against nearby hardware.
If the lock is hard to insert only when the accessory is loaded, remove the load and inspect the setup. The pin should not be used to force a misaligned shank into place. If the lock binds after towing or carrying, relieve pressure from the accessory before unlocking so the key cylinder is not taking the load.
Frequently asked questions
Is a ⅝-inch hitch pin the same as a 5/8 hitch lock?
Yes, those terms usually describe the same pin diameter. The lock still needs the correct usable span for your receiver and any added hardware. Always check both diameter and span before buying.
Can I use a smaller hitch pin lock if it fits through the hole?
Use the pin diameter specified for the receiver and accessory whenever possible. A smaller pin may create extra movement and may not be appropriate for the load. If you are unsure, check the hitch and accessory manuals rather than guessing.
Why will my hitch lock not go all the way through?
The most common causes are the wrong pin diameter, misaligned holes, burrs or paint inside the hole, or an accessory shank that is not fully seated. Remove the accessory and test the lock through the empty receiver first. Then test the accessory separately to see where the obstruction is.
Do I need a different lock for a 2½-inch or 3-inch receiver?
Often, yes. Larger receivers may need the same diameter as a smaller receiver in some cases, but they usually need more usable span because the receiver tube is wider. Some 2½-inch receivers use ⅝-inch pins and some use ¾-inch pins, so measuring is important.
Should the hitch lock be tight with no side-to-side movement?
The pin should fit the hole closely, but a little movement is common. The lock should not be so tight that it has to be hammered in or unlocked under heavy pressure. If movement bothers you, use a compatible anti-rattle device instead of changing to the wrong pin size.
Disclosure: As an Amazon Associate I earn from qualifying purchases. This site may earn a commission when you buy through its links, at no extra cost to you. Product details come from public manufacturer information; always check the merchant page for current specifications and prices. We have not hands-on tested the products described here.